Ingredients
-
2
-
1/4
-
1
-
3
-
-
-
-
-
-
-
-
-
-
-
Directions
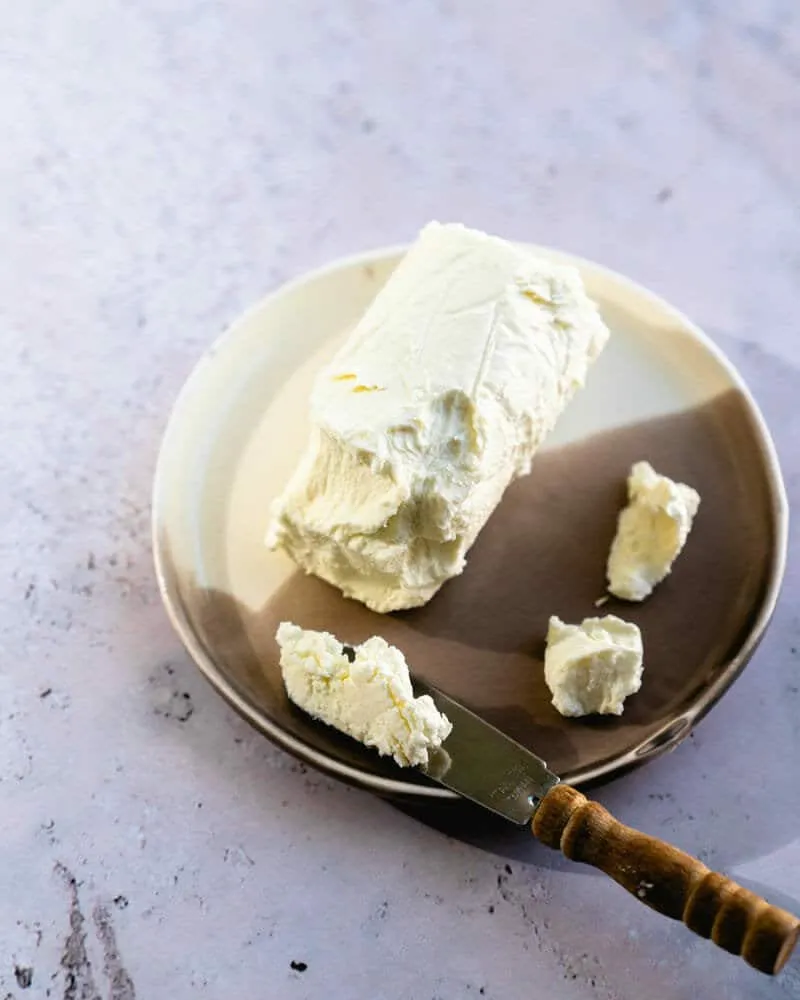
Simple Homemade Goat Cheese, this is so easy and so much cheaper that i never buy it anymore this same technique can be used to make ricotta if you use cow’s milk and lemon juice instead of vinegar, or queso blanco with cow’s milk and vinegar if you try to make goat cheese with lemon juice it will lack the tang you’re used to and be more like regular ricotta with a slight earthy touch , this is so easy and so much cheaper that i never buy it anymore this same technique can be used to make ricotta if you use cow’s milk and lemon juice instead of vinegar, or queso blanco with cow’s milk and vinegar if you try to make goat cheese with lemon juice it will lack the tang you’re used to and be more like regular ricotta with a slight earthy touch
Discover ground-breaking new supplements! SHOP & SAVE
Steps
|
1
Done
|
In a a Non-Reactive Pot on Med-High, Bring Milk Up to Just Below Boiling While Stirring Gently but Constantly. You'll See a Bit of Foam Starting to Form. |
|
2
Done
|
Add the Vinegar and Stir Gently. If the Milk Doesn't Curdle and Separate Cleanly Right Away Then Let It Heat a Few Min Longer or Add a Touch More Vinegar a Tsp at a Time. |
|
3
Done
|
Drain in a Strainer Lined With Several Layers of Cheesecloth or an Old Pillowslip That Has Been Bleached and Rinsed Very Well. That Liquid You're Pouring Off Is Whey, Btw, and Useful. You Might Want to Catch It in a Big Bowl. |
|
4
Done
|
Move Your Cheese to a Mixing Bowl and Stir in Salt to Taste. Add Heavy Cream to Make It Smoother If Desired. |
|
5
Done
|
You Can Press Into Mini Quiche Dishes (line With More Cheesecloth So You Can Un-Mold Cleanly) and Refrigerate Overnight to Solidify If Desired. You Can Also Form Into a Log and Roll It in Herbs or Marinate It in Flavored Olive Oil. Be Sure to Wrap Tightly Before Storing For Up to Two Weeks but I Doubt It Will Last That Long! the Whey Can Be Used For Baking or Boiling in Place of Water to Add Some Extra Protein and Vitamins. You Can Also Give It to Your Pets or Water Your Plants or Lots of Other Things. Make a Protein Shake With Some Fruit Perhaps. Happy Cheese Making! |

