Ingredients
-
2
-
1 1/2 - 2
-
1
-
1/2
-
1/2
-
1
-
-
-
-
-
-
-
-
-
Directions
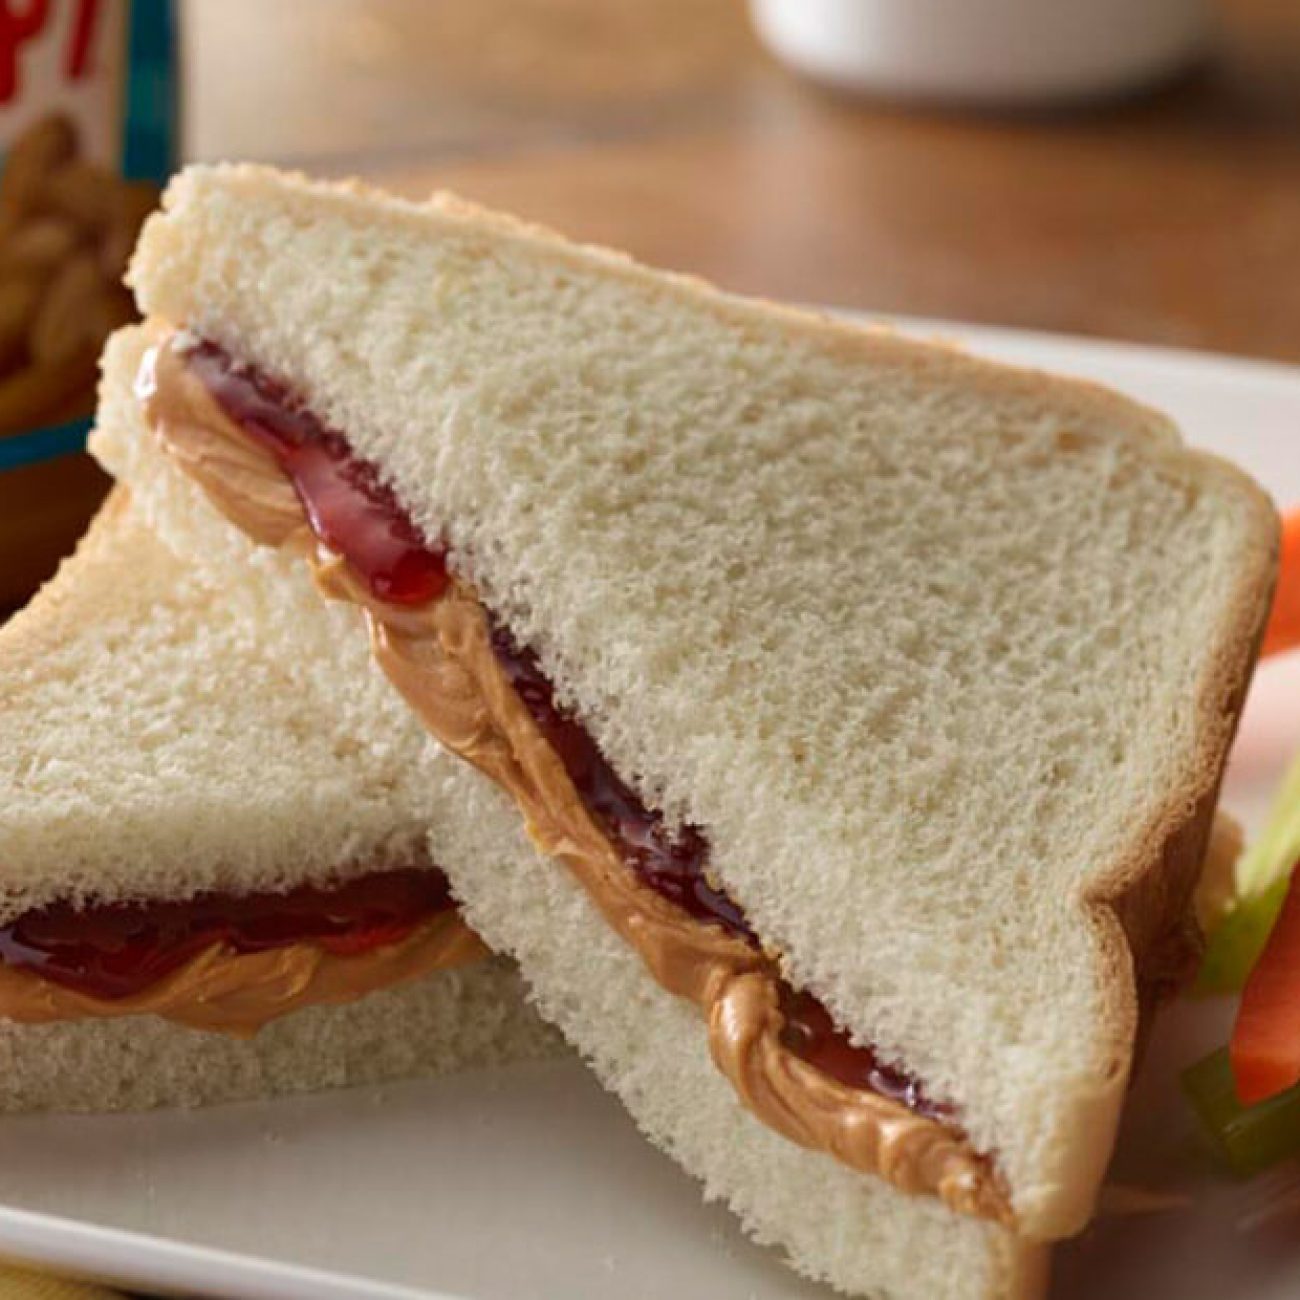
Panini for the PB&B Lover, No title can do justice to the wonder of this delicious sandwich I always think of it as panini, though I’m sure that’s not technically correct! Anyway, it’s grilled with peanut butter and banana and if you’re in doubt, try it, you’ll never want cold Pb&b again
Discover ground-breaking new supplements! SHOP & SAVE
Steps
|
1
Done
|
Preheat a Small Nonstick Pan on Medium, or a Regular Pan If You Plan to Coat the Bread With Margarine. I Never Use Margarine. a Nonstick Pan Alone Will Make You a Lovely Crispy Sandwich. |
|
2
Done
|
If Using Bread, Spread the Peanut Butter on One Slice. If Using the Pita, Spread on Half of One Side So That It Can Be Folded in Half Around the Fillings. |
|
3
Done
|
Sprinkle on the Cinnamon, If Using. Slice the Banana and Arrange in a Layer on Top of the Peanut Butter. |
|
4
Done
|
Stick the Dried Fruit in the Spaces Between Banana Slices, and Either Place the Other Slice of Bread on Top or Fold Your Pita in Half. |
|
5
Done
|
Fry on One Side Until Preferred Level of Goldy Brown-Ness Is Reached. Flip and Repeat- the Second Side Never Takes as Long. by the Way, Grilling a Pita May Seem Tricky at First. the Key Is to First Fry the Side You Folded Over, and Press the Pita Gently With a Spatula, Fork, Etc. This Will Let the Banana "melt" and Stick to the Folded-Over Side, So Your Pita's not Trying to Open on You. |
|
6
Done
|
Note: Experiment With Different Types of Dried Fruit, or Just Raisins. Almond Butter Is Also Great in This Sandwich. Have Fun! |

