Ingredients
-
1
-
-
1
-
1
-
15 - 20
-
1
-
-
-
-
-
-
-
-
-
Directions
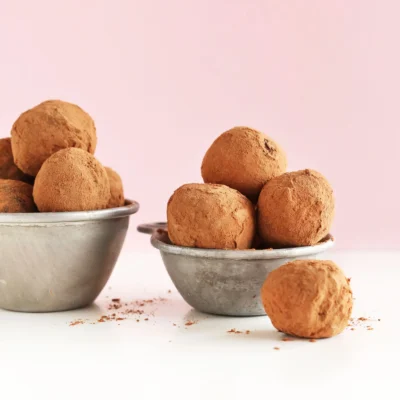
A Partridge in a Chocolate Truffle Tree!, This is such a wonderful way of serving your chocolate truffles at Christmas or New Year – or indeed any special winter festival! I do make my own truffles for this, but you can buy ready-made truffles for ease and speed of course! I love to see my family and friend’s faces when I bring the coffee and chocolates out with this Truffle Tree! Allow yourself plenty of time to assemble this, the plant pot and the tree trunk can be prepared beforehand; once the chocolate truffle tree has been assembled, it will be fine for up to 2 days before you need to serve it, stored in a very cool and dry place – NOT a fridge however I have made this with a well-known gold wrapped chocolate nut truffle before, as well as the white chocolate and coconut version by the same company! The truffles shown in my photos are local hand-made truffles, but any firm high chocolate truffle is fine I have my own truffle recipe posted on zaar, Recipe #271012 which also works very well with this tree! Have fun – and just watch your guest’s faces when you bring this out!! NB: You can also make this with marshmallows and other suitable sweets or candy, especially for children , If I could give this 10 stars, I would The instuctions are perfect and make it very easy to put together The finished product is brilliant! I did an assortment of truffles with a big red and green holiday bow and it is an amazingly festive centerpiece Be prepared to become a truffle factory because people are inhaling them off the tree French Tart – Thank you so much for posting this creative design and for your help during the project Happy Holidays!
Discover ground-breaking new supplements! SHOP & SAVE
Steps
|
1
Done
|
Spray the "trunk" of the Tree With a Colour of Your Choice Such as Gold or Silver. |
|
2
Done
|
Spray the Plant Pot the Same Colour, Allow Them to Dry For at Least 4 Hours. |
|
3
Done
|
Cover the Foam Ball With Aluminium Foil and Wrap Securely Around, Taping If Necessary. |
|
4
Done
|
Place Some Pebbles in the Bottom of the Plant Pot and Then Push the Florist's Foam in, on Top of the Pebbles - Wedging It in So That It Is Firm. |
|
5
Done
|
Stick the "trunk" Into the Foil-Covered Ball - Firmly - Then Push the Other End of the "trunk" Into the Florist's Foam in the Prepared Plant Pot. Make Sure It Is Firm and Does not Rock, Add Some More Pebbles. |
|
6
Done
|
Tie a Ribbon Around the Top of the "trunk" at the Base of the Foil-Covered Ball - Then Tie a Large Bow. |
|
7
Done
|
Take a Cocktail Stick and Push It Into Your Truffle, (or Other Sweets/Candy) Then Push the Other End Into the Foam Ball Making Sure It Is Securely Positioned. |
|
8
Done
|
Do This For All the Chocolate Truffles Until the "tree" Is Full. |
|
9
Done
|
Add Some White Foam Packing Balls Around the Top of the Plant Pot to Resemble Snow - Brush Off Any Loose Cocoa and Serve With Coffee! |
|
10
Done
|
Don't Forget to Pin Your Partridge Nearby! My Partridge Is a Glass Bird, That Was a Gift from Joyful Cook! |


