Ingredients
-
4
-
2
-
2
-
2
-
1/2
-
2
-
1/2
-
1/4
-
-
-
-
-
-
-
Directions
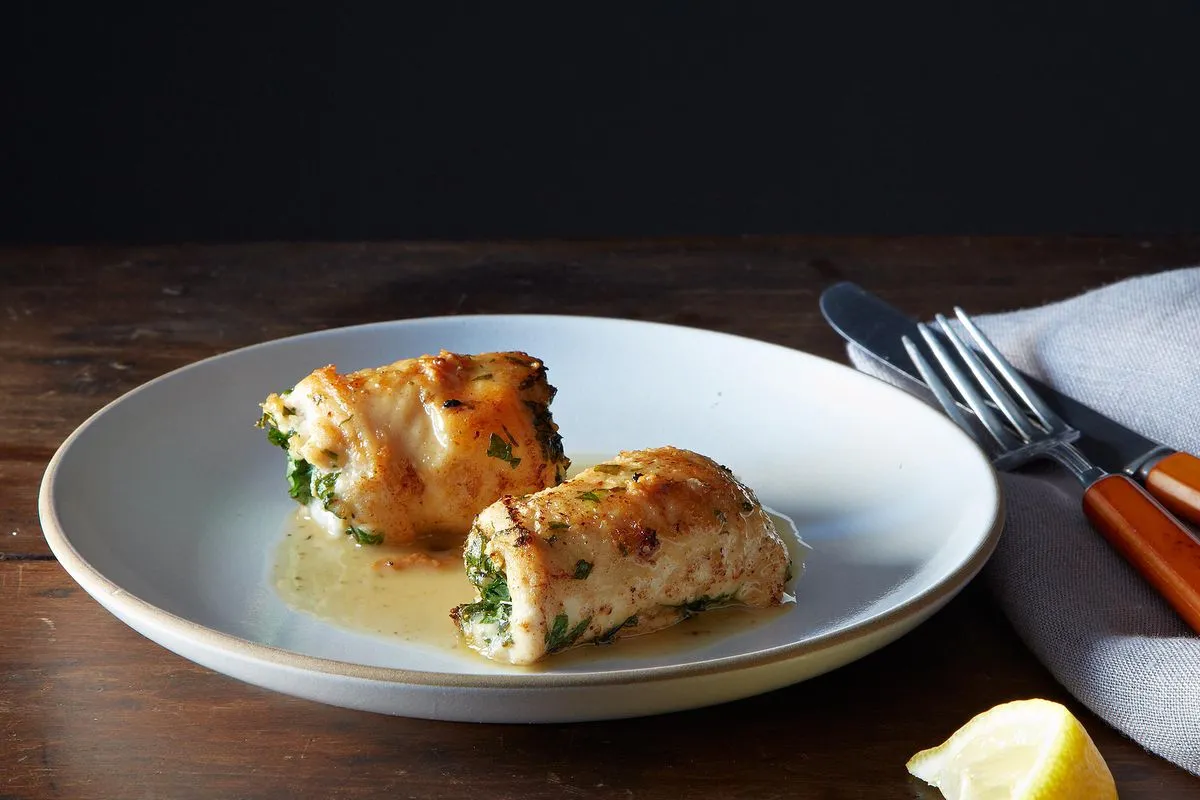
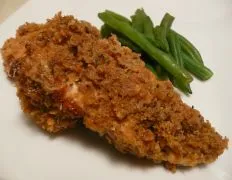
Chicken Kiev,There are times when I don’t wish to mess with the hot oil and deep fat frying and will oven fry them instead. If I am really tired after a long day at work, I will even resort to a prepared baking mix made for chicken. Just follow the instructions on the box and bake as directed.,This is not the traditional Chicken Kiev that is served at the local pub and has heaps of garlic in it, but it was still very yummy. I made only one serving of this for me and I really enjoyed it. I pan fried the chicken first only using olive oil spray just to make it a little healthier. Otherwise I kept to the recipe. I served it with Recipe #221217 and wedges of fresh tomatoes. Thank you Queen Dragon Mom
Discover ground-breaking new supplements! SHOP & SAVE
Steps
|
1
Done
|
Wash and Remove All Fat from Chicken Breasts; Pound Out to 1/8 Inch Thick Between Two Pieces of Wax Paper. |
|
2
Done
|
Cut Butter Into Quarters and Lay One in Center of Each Chicken Piece. |
|
3
Done
|
Evenly Divide Onions and Parsley Between Breasts. |
|
4
Done
|
Roll Each Piece Into a Log and Secure With a Toothpick. |
|
5
Done
|
Mix Eggs and Water. |
|
6
Done
|
Roll Each Log in Flour, Then Dip in Egg and Cover With Bread Crumbs. |
|
7
Done
|
Wrap in Plastic Wrap and Refrigerate For at Least 1 Hour or Overnight. Deep Fry Until Brown, Then Bake at 375f For 5 Minutes. |

