Ingredients
-
2
-
2
-
1
-
1 1/2
-
370
-
1
-
-
2
-
2
-
60
-
3
-
-
-
-
Directions
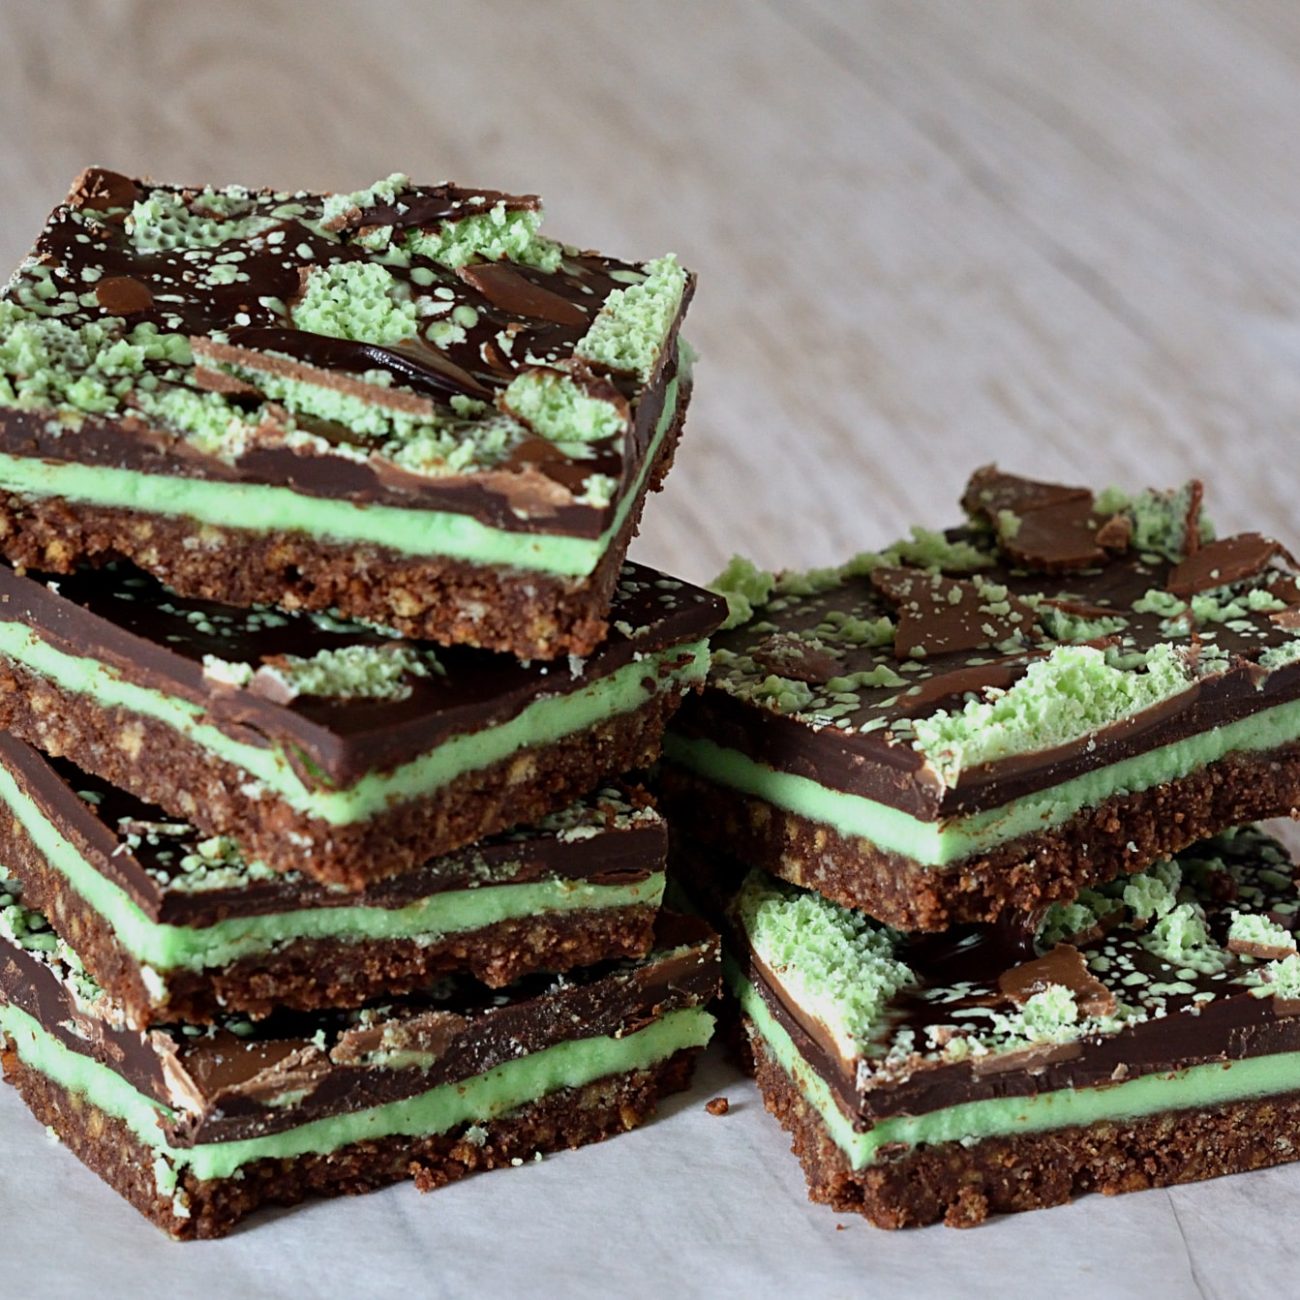
Chocolate Slice, This recipe is easy to make and is very budget friendly Its great for lunchboxes and makes a great after school snack The recipe can be easily doubled or halved depending on how much you wish to make and can also be frozen , This is lovely (very rich and decadent due to all that butter) I love that it has no eggs (I have an egg allergy) I made as written and it turned out perfectly, I am going to try again and see if it will still hold up with a little less butter though I agree this is great for lunch boxes, cheap and the kids love it Did I mention the DH was caught eating more than the kids?? Thanks for posting!
Discover ground-breaking new supplements! SHOP & SAVE
Steps
|
1
Done
|
Preheat the Oven to 180 Degrees C or 165 Degrees For a Fan Forced Oven. |
|
2
Done
|
Grease and Line a Lamington Tray With Baking Paper, I Usually Spray the Pan With Cooking Spray and Place a Strip of Baking Paper Across the Middle Section So That I Can Lift the Slice Out of the Tin to Cut It.this Way Your Tin Will not Be Damaged by the Knife When You Cut the Slice. |
|
3
Done
|
Sift the Flour and Cocoa Into a Mixing Bowl. Add the Coconut and the Sugar and Mix to Combine. |
|
4
Done
|
to the Melted Butter Add the Vanilla and Then Add This to the Dry Ingredients and Mix Well. |
|
5
Done
|
Place the Mixture Into the Slice Tin and Spread Out Evenly, Bake in the Oven For 20 Mins and Then Cool. |
|
6
Done
|
to Make the Icing Sift the Icing Sugar and the Cocoa Into a Bowl and Add the Water and Butter and Mix Well. |
|
7
Done
|
Spread the Icing Over the Top of the Slice and Cool in the Fridge For an Hour Before Slicing. |
|
8
Done
|
to Remove the Slice from the Tin,Gently Lift the Baking Paper at the Sides and the Slice Will Lift Out Easily. Place the Slice on a Cutting Board and Cut Into Squares. |
|
9
Done
|
This Slice Can Be Kept in an Airtight Container For Up to a Week and Can Also Be Frozen For Up to a Month. |

