Ingredients
-
-
-
1
-
1
-
20
-
-
-
-
-
-
-
-
-
-
Directions
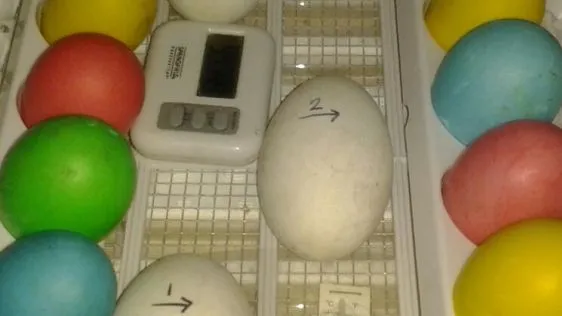
Easter Eggs – Decorate and Dye Options,You can have so much fun decorating Easter eggs – it’s not just for kids! Here are a few suggestions for both decorating and dying. I had to lump all of the decorating ideas together because I couldn’t list the different items in the ingredients. The ideas are easy, just take a look! I hope you find something that can express your artistic flair! Enjoy!
Discover ground-breaking new supplements! SHOP & SAVE
Steps
|
1
Done
|
Decorating the Eggs: Wrap Different Sized Elastic Bands Around Eggs. Wrap Them Snugly but not Tight Enough to Break the Eggs -- or Tie String Around Eggs in a Random or Set Pattern -- or Use a White Crayon to Write Words, Make a Design or Pattern on Your Eggs -- or Place Tape on Eggs to Create a Pattern or Stripes Around the Eggs -- or Place Shaped Stickers on the Eggs. They Can Be Shapes, Letters, Numbers, Etc. |
|
2
Done
|
Dying the Eggs: For Each Color, Mix Hot Water, Vinegar and Food Coloring in a Heat Proof, Narrow, Deep Dish, Such as a Canning Jar. Mix the Colors to Your Preference. Use 20 Drops of Just One Color or Combine Colors to Create Many Different Shades and Hues. |
|
3
Done
|
Using Tongs, Submerge Eggs For 3-5 Minutes For a Lighter Shade and Up to 10 Minutes For a Deeper Shade. Remove With Tongs. |
|
4
Done
|
Drying the Eggs: You Can Set the Eggs on Wax Paper If You Can Set the Eggs on the Elastics, Tape or Stickers. Let Eggs Dry For 1 to 2 Hours and Refrigerate -- or You Can Poke Many Flat Head Pins on a Thick Piece of Cardboard or Foam Board. Set Eggs on Top of the Pins. Let Eggs Dry For 1 to 2 Hours. |
|
5
Done
|
Remove Whatever Decorating Items You Used and Refrigerate. |

