

Ingredients
-
1
-
1
-
1
-
2 1/2
-
-
-
-
-
-
-
-
-
-
-
Directions

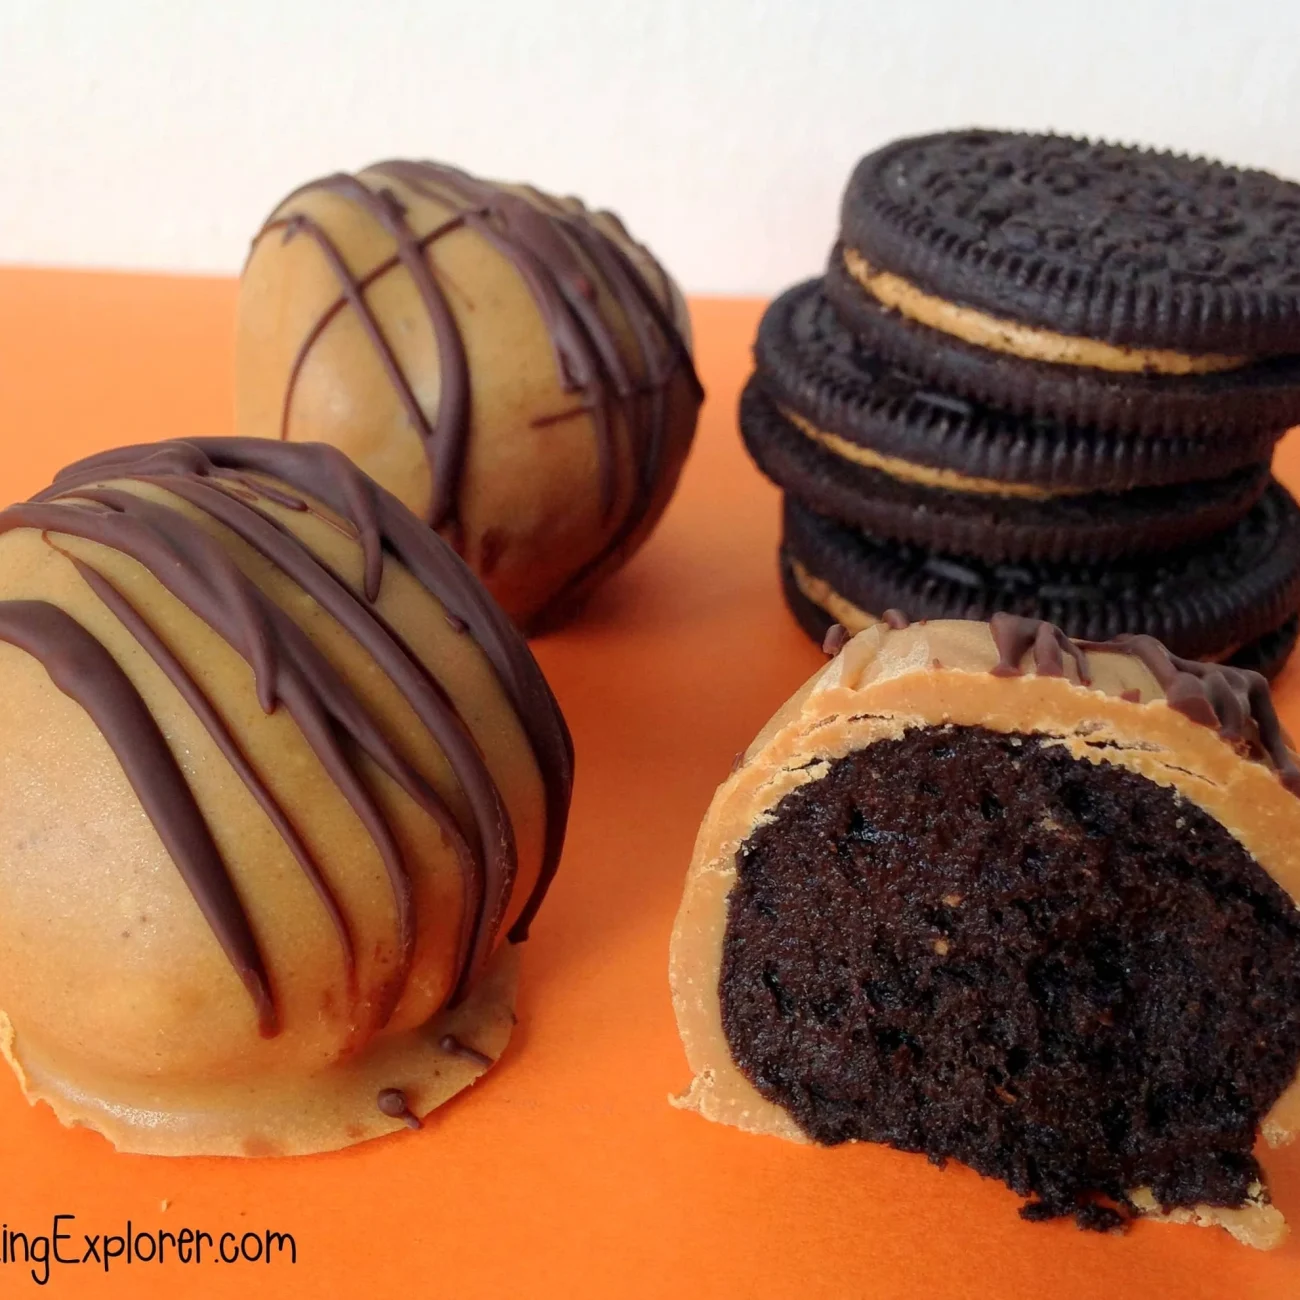
Peanut Butter Oreo Truffles, I came across this recipe in one of my many internet searches for recipes Ok, so it does sound a little sinful, but hey, its the holidays!, I came across this recipe in one of my many internet searches for recipes Ok, so it does sound a little sinful, but hey, its the holidays!
Discover ground-breaking new supplements! SHOP & SAVE
Steps
|
1
Done
|
A Food Processor With a Cutting Blade Is Your Best Friend For This Job. Empty Half the Package of Cookies Into the Processor and Turn It On. as the Cookies Break Down, Add the Other Half Through the Top. Process Until They Are a Fine Texture Like Coarse Corn Meal. Lumps or Cookie Chunks Are not Your Friend, Either Remove Them or Keep Processing Until All Is Fine. |
|
2
Done
|
Next, Add the Cream Cheese. This Is One Time That You Do not Want the Cream Cheese to Be Soften. the Colder the Better. Process the Cream Cheese and Cookies Until They're Well Mixed. You Will not Have a Solid Dough, but It Will Be Tacky and Easy to Form Into Balls. If by Chance the Dough Is Too Soft, Then Semi-Flatten the Dough Into a Medium Size Bowl, Cover With Plastic Wrap, and Place in the Freezer For 10 to 15 Minutes. |
|
3
Done
|
Using Medical Grade Latex Gloves Is a Sanity Saver! I Wouldn't Work This Next Step Without Them. |
|
4
Done
|
Roll Dough Into 1 Inch Balls and Place on a Half Sheet Pan Lined With Wax Paper. Don't Worry About Making Them Exactly the Same Size or Perfectly Round. |
|
5
Done
|
in Fact, Imperfection Makes Them Easier to Dip in Chocolate and It's Fun to Watch Folks Pick Which One They Want to Eat. Dieters Like to Eat the Smallest Ones, and the Rest of Us Look For the Biggest. of Course, Every One Goes Back For a Second Truffle. |
|
6
Done
|
After You Have All the Balls Rolled, Slide the Sheet Pan Into the Freezer For 5 to 10 Minutes. While They're Firming Up a Bit, Start Working on Melting the Chocolate Coating. You'll Need About 3/4 of the Package of Almond Bark Plus Approximately 1/3 Cup Semi-Sweet Chocolate Chips. the Chocolate Chips Are to Add a Milk Chocolate Color to the Coating. Careful not to Go Too Heavy on the Chocolate Chips, They Can Cause the Coating to Be Soft and Lose That Chocolate Snap You Want Around the Creamy Center. |
|
7
Done
|
to Melt the Almond Bark & Chocolate Chips. |
|
8
Done
|
Use a Metal or Glass Bowl That Fits Snug Over a Small Pan, but Where the Bottom of the Bowl Will not Touch the Water in the Pan. |
|
9
Done
|
Bring One Cup of Water to a Simmer in a Small Pan, Do not Let the Water Boil. You Need the Low Heat to Melt the Chocolate, not the Steam. Chop the Almond Bark Into the Same Size Pieces as the Chocolate Chips, So They Can All Melt Evenly. Put Them Both Plus 2 Teaspoons Shortening in Bowl and Place Over Pan. It Will Take 1-2 Minutes to Fully Melt, So Do not Walk Away. |
|
10
Done
|
When You See the Chips Starting to Melt, Get a Spatula and Gently Stir the Chocolate. Do not Over Stir, Just Move the Chips Around to Help Them Melt. When You See There's Just a Few Chips Left, Turn Off Heat. Add Another Teaspoon of Shortening If the Coating Seems Too Thick. Go Get the Cookie Truffles from the Freezer. |
|
11
Done
|
Using the Same Pan, Push All the Balls to One Side and Make Room For Chocolate Dipped Balls. With a Fork or Dipping Tool, Place One Ball in Melted Chocolate and Quickly Coat Evenly. Lift Up Ball and Gently Shake Extra Chocolate Off. Flip Coated Ball Back Onto Sheet Pan. Get Another Dough Ball and Repeat Steps Until All Are Coated. Now It's Time to Decorate. |
|
12
Done
|
to Make the Decorative Squiggle on the Top. |
|
13
Done
|
in a Small Microwaveable Bowl, Melt 1/3 Cup Semi-Sweet Chocolate Chips or Peanut Butter Chips With 1/2 Teaspoon of Shortening, on 70% Power For 1 Minute. Then Again at 70% Power, 30 Second Intervals Until Melted, Stirring Between Intervals. Continuous Stirring Helps Melt Any Remaining Lumps. |
|
14
Done
|
to Make a Piping Bag: Place One Bottom Corner of a 1 Quart Freezer Bag Down Into a Drinking Glass and Fold the Top of the Bag Over the Rim of the Glass. Scrape the Melted Chocolate Into the Bag With a Spatula. Lift Up the Freezer Bag and Twist It Right Above the Melted Chocolate, Squeezing Out the Air. With a Pair of Good Scissors, Snip a Tiny Corner Off the Bag. With a Firm Even Grip, Start Squeezing and Squiggling Across the Chocolates. |
|
15
Done
|
Chill in the Refrigerator For 5 to 10 Minutes, Until Chocolate Coating Sets, Then They're Ready to Eat. |


