Ingredients
-
2 - 3
-
12
-
1
-
6 - 8
-
1
-
-
-
-
-
-
-
-
-
-
Directions
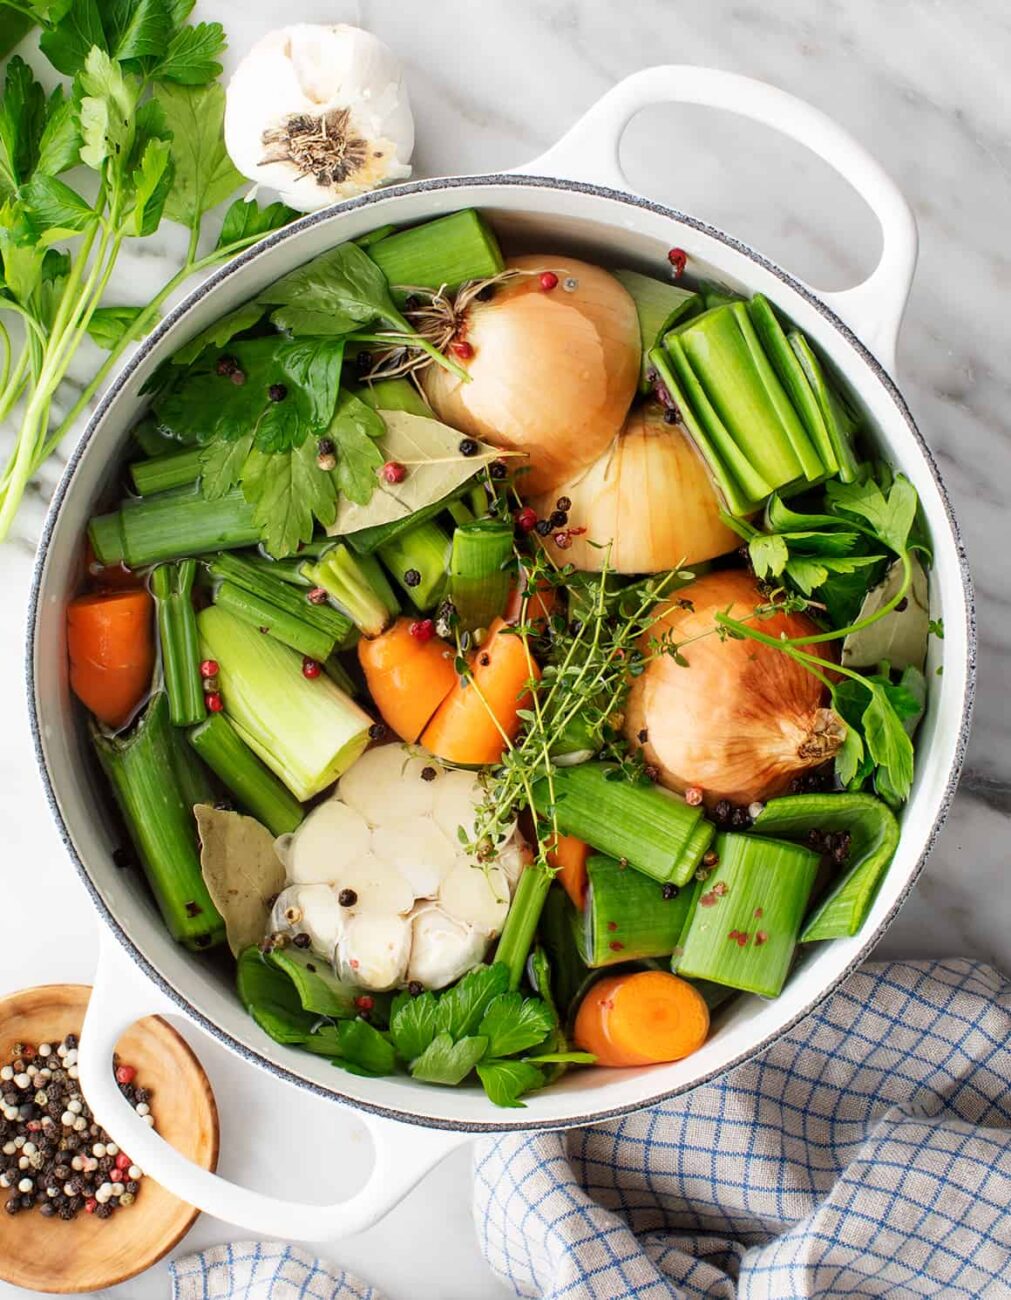
Rich Vegetable Stock,Making your own vegetable stock is easy and costs almost nothing. Use the trimmings from your vegetables, including onion skins, garlic skins, herb stems, potato and carrot peelings–just about anything in your kitchen except sulfurous vegetables such as broccoli, cauliflower and cabbage. Also toss in anything in your fridge that looks like it’s not so happy any more. This recipe uses a reduction method that produces a very rich stock, which increases the cooking time. You can do this in a third of the time by doing only 1 reduction, which takes about 45 minutes to an hour cooking time. But I highly recommend reducing 3 times.,I have used this recipe, and on a positive note it does produce excellent stock. However, the personal time (3 hrs., 30 min.) involved in the process does not warrant using this method. There are many other stock making processes that make just as good stock in much less time. Also, the amount of energy to boil and reboil the stock is NOT environmentally friendly. I urge others to look into other recipes for making vegetable stock.,used to always do this years ago, but never knew I could freeze the scraps, so fell out of the habit because I only good for two now, my scraps would start to rot before I had enough to use. Thanks for a great idea (freezing the scraps until you have enough!) and for the reminder to get back to my old but good habits! Gonna start on this today.
Discover ground-breaking new supplements! SHOP & SAVE
Steps
|
1
Done
|
I Have No Idea How Much Your Veggie Trimmings Will Weigh, but I Thought It Best to Put Some Sort of Approximate Amount in the List of Ingredients. Basically, I Just Fill a Gallon Baggie and Use That and the Weight of the Baggie Just Depends on What Kinds of Trimmings I've Put in During the Week. |
|
2
Done
|
I Keep a Gallon Freezer Baggie in the Freezer and Dump My Veggie Trimmings in It After Each Meal I Cook. in No Time at All, Maybe a Week or Two, the Bag Is Full and Ready to Use For Making Stock. |
|
3
Done
|
Empty the Gallon Baggie of Veggie Trimmings Into a Large Stew Pot or Stock Pot, Along With the Bay Leaf and Peppercorns. Add 8 Cups of Water and See Where Your Water Level Is. Remember It. This Is the Point Where You Will Refill After Reducing. Go Ahead and Add the Other 4 Cups of Water and the Salt. Resist the Urge to Stir! |
|
4
Done
|
Bring to a Nice Simmer Over High Heat, Then Reduce Heat to Maintain the Simmer. |
|
5
Done
|
Never Ever Stir! You Can Use the Back of a Wooden Spoon to Gently Push the Veggies Down Into the Liquid Every Now and Then, but Don't Stir. If You Do, Your Stock Will Come Out Cloudy. by Resisting the Urge to Stir, Your Stock Will Be Crystal Clear and Beautiful. If It Does Cloud Up, It's Still Good, Just not Nearly as Pretty. |
|
6
Done
|
When the Liquid Has Reduced by 4 Cups, Add Another 4 Cups of Water and Continue to Simmer. Do This 2 More Times, For a Total of 3 Times. You Are Essentially Reducing the Water 100% by Reducing by a Third Three Times. |
|
7
Done
|
After the Final Reduction, Remove from Heat and Strain Through a Colander. Squeeze All of the Stock Out of the Veggies, Then Discard the Veggies. |
|
8
Done
|
Strain the Stock Through a Sieve, and Then Strain Again Through a Fine Mesh. use a Permanent Coffee Filter For This Step. |
|
9
Done
|
at This Point, I Pour the Stock Off Into Plastic Cups in 8 Ounce Portions. Let Cool Completely at Room Temperature, Then Freeze. Cooling Your Stock Off Too Quickly Results in Clouding. |
|
10
Done
|
When the Stock Is Frozen, I Pop Each Stock "cube" Out of Its Cup, Wrap It in Parchment or Wax Paper, and Put All the Stock Into a Big Gallon Freezer Bag. |


