Ingredients
-
-
2
-
1 - 2
-
-
1
-
2
-
2
-
1/2
-
1
-
1
-
1/2
-
1/4
-
1
-
-
Directions
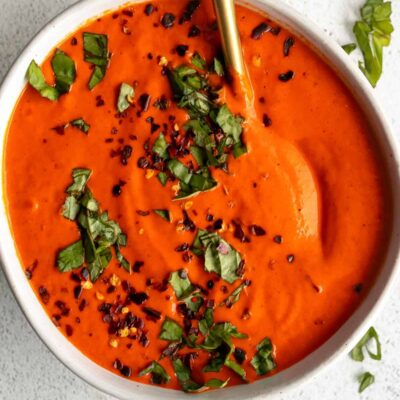
Rachel’s Roasted Red Pepper Hummus, Yes, this seems a wee bit labor intensive and time-consuming just for hummus but believe me, it’s WORTH IT I don’t like peppers generally and definitely not peppers in chunk form, but the roasting, like sauteeing, softens them and makes them able to blend, and the freshness really imparts that flavor better than jarred roasted peppers You’ll never go back to storebought or recipes using jarred peppers after this!, Yes, this seems a wee bit labor intensive and time-consuming just for hummus but believe me, it’s WORTH IT I don’t like peppers generally and definitely not peppers in chunk form, but the roasting, like sauteeing, softens them and makes them able to blend, and the freshness really imparts that flavor better than jarred roasted peppers You’ll never go back to storebought or recipes using jarred peppers after this!
Discover ground-breaking new supplements! SHOP & SAVE
Steps
|
1
Done
|
Wash and Cut the Peppers in Half and De-Seed Them, and Cut the Stems Out. Chop Each Half Into Half Again Length-Wise. Small Pieces Are Good For This but Don't Make Them Too Small. |
|
2
Done
|
Note- the Above Step Can Be Difficult If You Have Very Sensitive Skin and/or Cuts on Your Hands. I'd Recommend Wearing Form-Fitting Clean Vinyl Gloves in That Case. |
|
3
Done
|
Mix the Pepper Pieces With the Olive Oil and Make Sure They're Well-Coated With Oil. |
|
4
Done
|
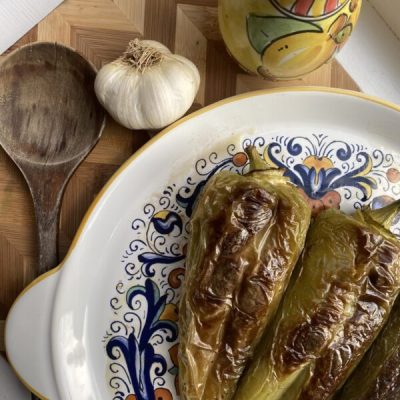
Lay Them Out on a Cookie Sheet With the Skin Side Up and Turn the Broiler on, Keeping Them Pretty Close to the Heat, About 2-3 Inches from the Source. (i Do This in My Toaster Oven on the Top Rack and It Works Brilliantly.) Broil For 15-20 Minutes. When the Peppers' Skins Appear to Be Blackening in Places but not Completely Charred, You're Done. This Is Important, or Else the Meat Won't Won't Come Out of the Skins Later. |
|
5
Done
|
Place the Peppers Into a Large Bowl and Tightly Cover in Plastic Wrap or Put a Large Plate or Bowl Cover Over the Top, Something to Trap All That Air in There-- This Will Steam the Peppers and Soften Them Further. Once Tightly Covered, Let the Peppers Steam and Cool in There For 15 Minutes. No More, No Less! |
|
6
Done
|
When the 15 Minutes Are Up, Extract the Peppers (should Be Cool to Handle Now) and They Should Come Right Out of Their Skin Now, Some Might Take a Little Work. Put the Slippery Pepper Pieces Into a Food Processor and Pulse a Few Times to Puree Them. Add a Few Drops of Water If They Won't Puree on Their Own. |
|
7
Done
|
Add the Chickpeas and Do a Rough Chop a Few Times So the Chickpeas and Peppers Can Meld Together. |
|
8
Done
|
Add the Garlic, Lemon Juice and Dry Spices and Keep on a Continuous Puree to Blend All the Ingredients, Scraping Down the Sides Occasionally to Ensure an Even Blend. |
|
9
Done
|
the End Result Should Be Nice and Smooth With No Lumps or Whole Pieces of Chickpeas or Peppers; and a Pleasant Light Red Hue. I'd Recommend Refridgerating For at Least 2 Hours Prior to Eating/Serving but of Course You Can't Resist Putting a Pita Chunk Into It Right Now. ;) I Love This on French Bread or Ciabatta With Spinach and Grilled Eggplant! |


